Free Scrapbooking Layouts
even more design ideas from my collection
In these free scrapbooking layouts, learn to use fingerprints, note cards, chipboard letters, ribbon, stamps, and vellum. One layout has a Sister theme and one is called Muddle of the Middle – it is all about everyday reality scrapbooking.
More Layouts
1
2
3
4
5
6
7
8
9
10
11
12
13
14
15
16
17
18
19
20
21
22
23
24
25
26
27
28
29
30
31
32
33
Free Scrapbooking Layouts 1
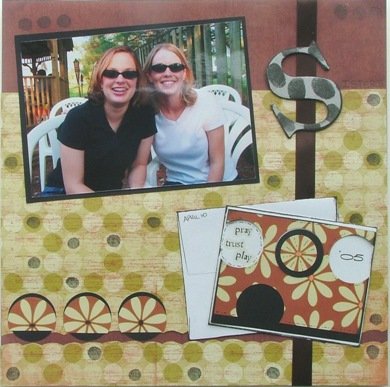
This layout has a subtle Sister
theme. The giant chipboard S has the letters ISTERS written out beside
it for the title. The orignal idea started out with me wanting to write
my sister a note to tell her how much I appreciate her. I never actually
did that. But you could actually take this idea and write out your note
on the notecard and either leave it closed or scrap it open and then
frame the layout (I've seen 12 x 12 scrapbooking frames at Hobby Lobby)
and give it as a gift.
So, this layout started with the textured
burgandy 12 x 12 sheet. I then cut the yellow green piece with a
straight line across the top and cut along the polka dots and separated
one piece to show the burgandy piece underneath. Then came the matted
photo, the piece of ribbon on the rights side, the decorated note card
and envelope. I used the circles I punched out of the paper on the card
for the 3 embellishments on the bottom left. The last touches were the
fingerprints, the doodling, the sticker words and the stamp for '05.
This is the first of the free scrapbooking layouts for this page. Find
more here.


Free Scrapbooking Layouts 2
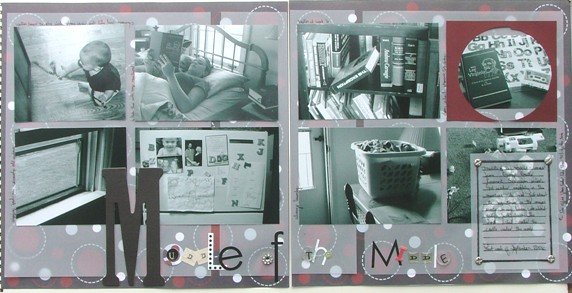
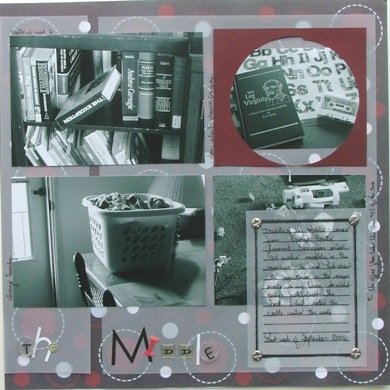
Here's the journaling for this 2
page layout: “Muddle of the Middle” comes from George Grant's covenant
Succession series. God works mightily in the mundane – it's not just
about the big stories or the major events in our lives – it's about
daily faithfulness. The hand that rocks the cradle rules the world. Last
week of September 2006.
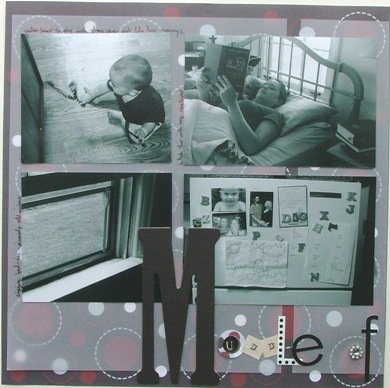
This layout starts out with the polka
dot paper on both sides. (My Mind's Eye – Live Out Loud Navy/Maroon
circles Item # LIV102C) I then used the vellum to play down the pattern.
Next came the photos (black and white) and then the title – each of the
letters are stickers except fot the chipboard M and the gemstone O. I
used a stamp (Stampabilities – Journaling Block OR1025 – I think I got
it at Hobby Lobby) to print onto vellum for the journaling block. Use
Stazon stamp pads when inking on vellum. I attached the journaling block
with screw looking brads. Next, I cut out the red rectangle and cut the
circle out of it and placed it over the photo. Finally, I wrote some
journaling next to each photo.


See More Free Scrapbooking Layouts....


New! Comments
Have your say about what you just read! Leave me a comment in the box below.